How to Edit Robots.txt in Shopify
When it comes to optimising your Shopify store for search engines, one often-overlooked file plays a crucial role: robots.txt. This simple text file controls how search engine crawlers interact with your site, allowing you to dictate which pages are indexed and which are ignored. For Shopify store owners, understanding how to edit and manage this file can significantly impact your SEO strategy.
Key takeaways
- Shopify creates robots.txt automatically; you cannot upload your own file to the root folder.
- To edit it, open Online Store > Themes > Edit code and add the robots.txt.liquid template.
- The default file already blocks admin, cart, checkout, account and internal search pages, so you rarely need to repeat those rules.
- Add rules inside the Liquid loop, test at yourstore.com/robots.txt, and delete the template to restore Shopify's defaults.
Robots.txt helps prevent search engines from crawling irrelevant or duplicate content, ensuring that your important pages get the attention they deserve. By editing this file, you can better control which parts of your store are visible to search engines, improving your site’s performance in search results.
What is Robots.txt?
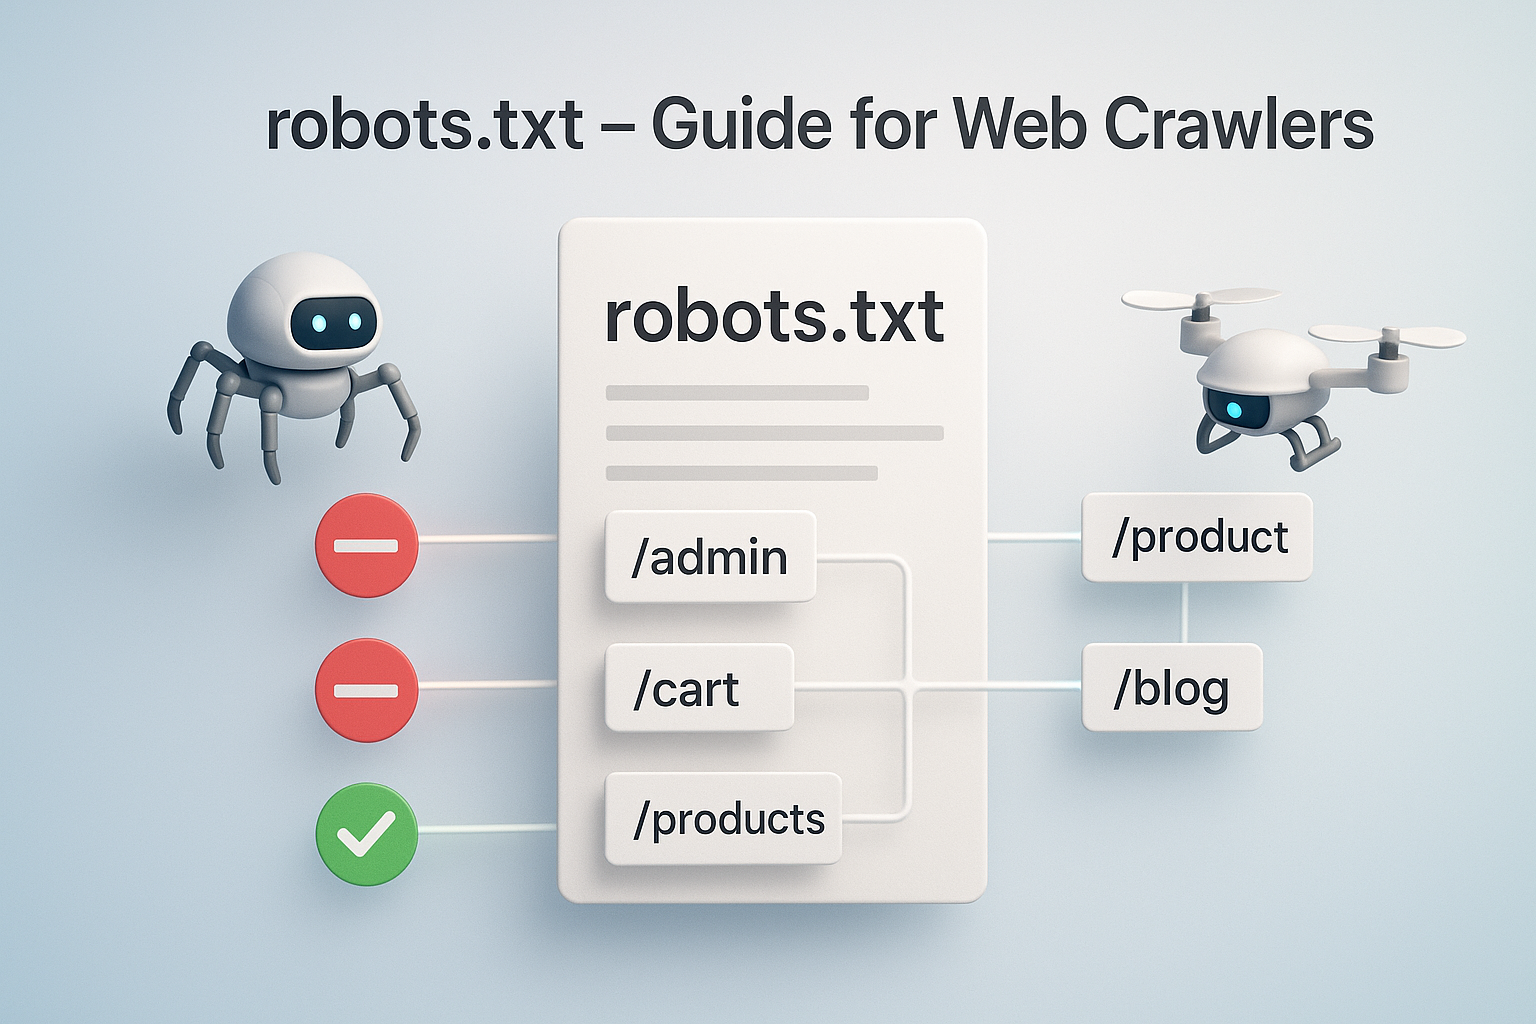
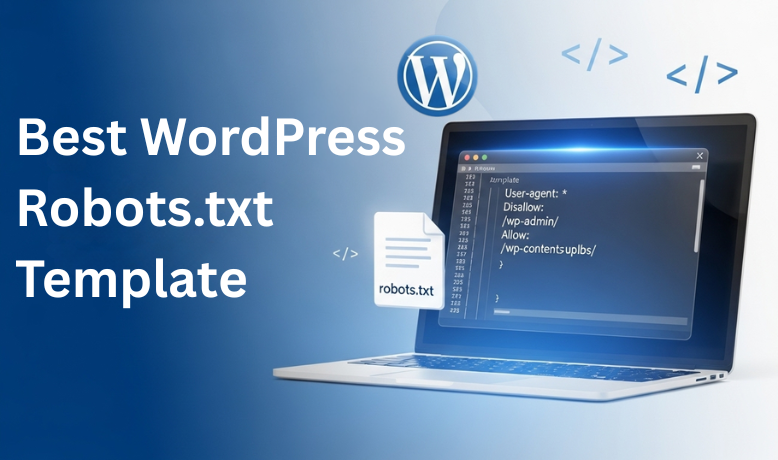
The robots.txt file is a simple text file in your website’s root directory. It instructs web crawlers (like Googlebot, Bingbot, etc.) which pages or sections of your site they should or should not crawl and index. This file helps search engines understand your site’s structure and prioritise which content to display in search results.
Search engines rely on the instructions in robots.txt to manage their crawling process. For example, you can block certain pages, such as admin sections, cart pages, or duplicate content, from being indexed while allowing key product pages and blog posts to be crawled.
How to Access robots.txt in Shopify
Accessing and editing your robots.txt file in Shopify is a straightforward process. Shopify provides a built-in feature that automatically generates and manages this file for your store. However, if you need to make custom changes, here’s how you can access it:
- Log in to your Shopify Admin
Start by logging into your Shopify account. Use your credentials to access the Shopify admin dashboard. - Open the theme code editor
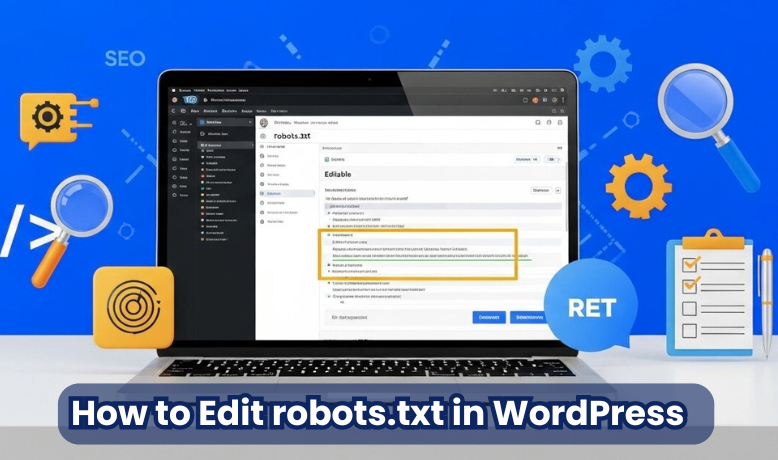
Go to Online Store > Themes. Next to your live theme, click the three-dot menu and choose Edit code. - Create the robots.txt.liquid template
In the Templates folder, click Add a new template, choose robots.txt and click Create template. Shopify adds a robots.txt.liquid file that outputs its default rules. - Access the File
Edit robots.txt.liquid here to add or change rules, then click Save. You’ll be able to control which sections of your site are accessible to search engines.
Editing robots.txt in Shopify
Once you’ve accessed your robots.txt file in Shopify, editing it is simple. You can customise the instructions within the file to control how search engines crawl your website. Here’s how to make changes:
Identify the Section You Want to Edit
First, identify the section of your website you want to modify. Common uses for editing robots.txt include:
- Blocking search engines from crawling certain pages (e.g., cart, checkout, or admin).
- Allowing specific search engines to crawl particular pages or sections.
Edit the File
Shopify lets you customise the instructions by adding rules to the robots.txt.liquid template. For example:
- To disallow a specific directory or page:

This code tells search engines not to crawl the cart page.
- To allow a specific page or section to be crawled, you can use the Allow directive:

- This allows search engines to crawl your blog section.
Save Changes
After making the necessary edits, save the file. Shopify will automatically update the robots.txt file with your changes. To apply the instructions correctly, check your changes by visiting your robots.txt URL (e.g., yourstorename.com/robots.txt).
Test for Errors
Before finalising the changes, testing whether the modifications work as expected is a good idea. You can use tools like Google Search Console to verify that the pages you want to block are not being crawled and that the pages you want indexed are accessible.
Common Mistakes to Avoid
While editing your robots.txt file in Shopify, it’s important to be cautious, as small errors can negatively impact your site’s visibility and SEO. Here are some common mistakes to avoid:
- Blocking Important Pages by Mistake
One of the most common errors is accidentally blocking important pages, such as your product pages or blog posts. If you block these pages from search engines, they won’t be indexed, which can severely affect your site’s ranking.
Example Mistake:

This would block all product pages, making them invisible to search engines.
- Not Testing Changes Before Implementing
Always test your robots.txt file after editing it. If you forget to check the file, you might unintentionally prevent important pages from being crawled, or worse, block your entire site from search engine visibility. - Overcomplicating the File
Keep your robots.txt file simple. Adding too many rules or using overly complex directives can confuse search engines. Stick to the basics, such as Disallow and Allow, and only use Crawl-delay or Sitemap if necessary. - Not Updating Regularly
Your store will evolve, as will the need to adjust your robots.txt file. It’s important to regularly update the file to reflect changes in your site structure, such as adding new sections or removing outdated content that should not be crawled. - Forgetting to Remove Temporary Blocks
If you temporarily block certain pages (e.g., during maintenance or while redesigning a page), remove the block once the work is done. Failing to remove temporary blocks can keep pages hidden from search engines for longer than necessary.
What Shopify's Default robots.txt Already Blocks
Before you add anything, open yourstore.com/robots.txt and read what Shopify already does. The default file is well maintained and covers most stores. It already:
- Blocks the admin area, cart, checkout, orders and customer account pages.
- Blocks internal search result pages.
- Blocks many sorting and filtering URL variations that create duplicate collection pages.
- Includes a Sitemap line pointing to /sitemap.xml.
That means rules like Disallow: /cart are already there. Adding them again does no harm, but it adds clutter. Custom rules are worth it for specific problems, such as a filtering app that creates thousands of parameter URLs, or bots you want to keep out.
How to Add a Rule in robots.txt.liquid
The robots.txt.liquid template does not hold plain text rules. It loops through Shopify's default rule groups and prints them. You add your own rules inside that loop, so the defaults stay in place and keep receiving Shopify's updates.
- Open Online Store > Themes > Edit code and click robots.txt.liquid in the Templates folder.
- Find the section that prints the rules for each group. Inside it, add a condition that targets all crawlers, for example:
{%- if group.user_agent.value == '*' -%}{{ 'Disallow: /*?filter*' | prepend: '\n' }}{%- endif -%} - To block a specific bot entirely, add a new group after the loop, for example
User-agent: GPTBoton one line andDisallow: /on the next. - Click Save, then reload yourstore.com/robots.txt to confirm the new lines appear once and in the right group.
Avoid deleting the loop and pasting a static list of rules. It works, but your store then misses improvements Shopify makes to the default file.
How to Reset Shopify robots.txt to Default
If a change goes wrong, copy your custom code somewhere safe, then delete the robots.txt.liquid template from the theme editor. Shopify immediately goes back to serving its default robots.txt. Keep in mind that the template belongs to the theme: if you publish a different theme, your custom rules do not carry over unless you add the template to the new theme too.
To hide a single page from Google, robots.txt is the wrong tool. A noindex tag is better, and many Shopify SEO apps can add one to individual pages without editing theme code.
Conclusion
Editing your robots.txt file in Shopify is a powerful tool for controlling how search engines interact with your site. By properly configuring this file, you can ensure that search engines focus on the most important content, improving your SEO and protecting sensitive or irrelevant pages from being indexed. While it’s a relatively simple task, avoiding common mistakes and regularly updating the file to align with your store’s evolving needs is important. With these best practices, you can effectively manage your Shopify store’s SEO and maintain a healthy, optimised online presence.
Frequently asked questions
Can I upload my own robots.txt file to Shopify?
No. Shopify does not give you access to the server root, so you cannot upload a robots.txt file by FTP. The only supported way to change it is the robots.txt.liquid template in your theme code. Shopify renders that template as yourstore.com/robots.txt, and it applies to your primary domain and the other domains connected to the store.
Does Shopify create a sitemap automatically?
Yes. Every Shopify store has an automatically generated sitemap at yourstore.com/sitemap.xml that links to separate sitemaps for products, collections, pages and blog posts. The default robots.txt already includes a Sitemap line pointing to it, so you do not need to add one. Submit the same sitemap URL in Google Search Console to monitor indexing.
Is it safe to edit robots.txt in Shopify?
It is safe if you add small, tested rules, but Shopify treats the customisation as unsupported, so its support team will not fix mistakes for you. A single wrong line, such as Disallow: /collections, can hide your whole catalogue from crawlers. Keep a copy of the default template, change one rule at a time, and check Search Console afterwards.